Midnight Racing Tokyo Tokyo City Map Guide
Learn Tokyo City: split Tier 1–3 dealerships, tuning pads, RP venues, and the safest first-hour orientation loop.
Tokyo City guide for Midnight Racing Tokyo
Tokyo City is the orientation map most Alpha players should open first. Released as a central Tokyo recreation with districts inspired by Ginza, Harumi, Tsukiji, Shiodome, and Kyobashi vibes, it packs dealerships, bodykit shops, tuning access, restaurants, karaoke, clubs, and low-stress roads that forgive early mistakes. Pair this page with Getting Started and Controls before you chase C1 glory on Shuto Expressway.
Why Tokyo City matters
Highway maps punish ignition mistakes and tunnel panic. Touge maps punish ego braking. Tokyo City lets you learn menus while the asphalt stays readable. Tooltips near spawn, teleport pads to major shops, and slightly friendlier grip near the hub area make it the classroom for day-one garage decisions.
If you only practice here forever you will stall, but skipping it often produces broke players who bought the wrong Tier building and never found the orange pad.
Split dealerships (Tier 1–3)
Unlike maps with a single dealer building, Tokyo City commonly separates showrooms by performance band:
- Hakabara Auto — Tier 1 economy and teacher shells
- Hepburn Executive — Tier 2 sweet-spot platforms
- Takahashi Motors — Tier 3 high-performance stock without the Level 40 Tier 4 gate
Walk to the counter and hold interact (usually E on PC) to open purchase UI. Click Buy once — spam clicks do not help. Immediately reserve yen for a first tune using the Yen Budget Planner and the Dealerships guide. Tier 4 still waits on level 40; see Vehicle Tiers.
Shops beyond the dealer
Tokyo City clusters more than cars:
- Performance / tuning access (orange pad culture — details in Tuning)
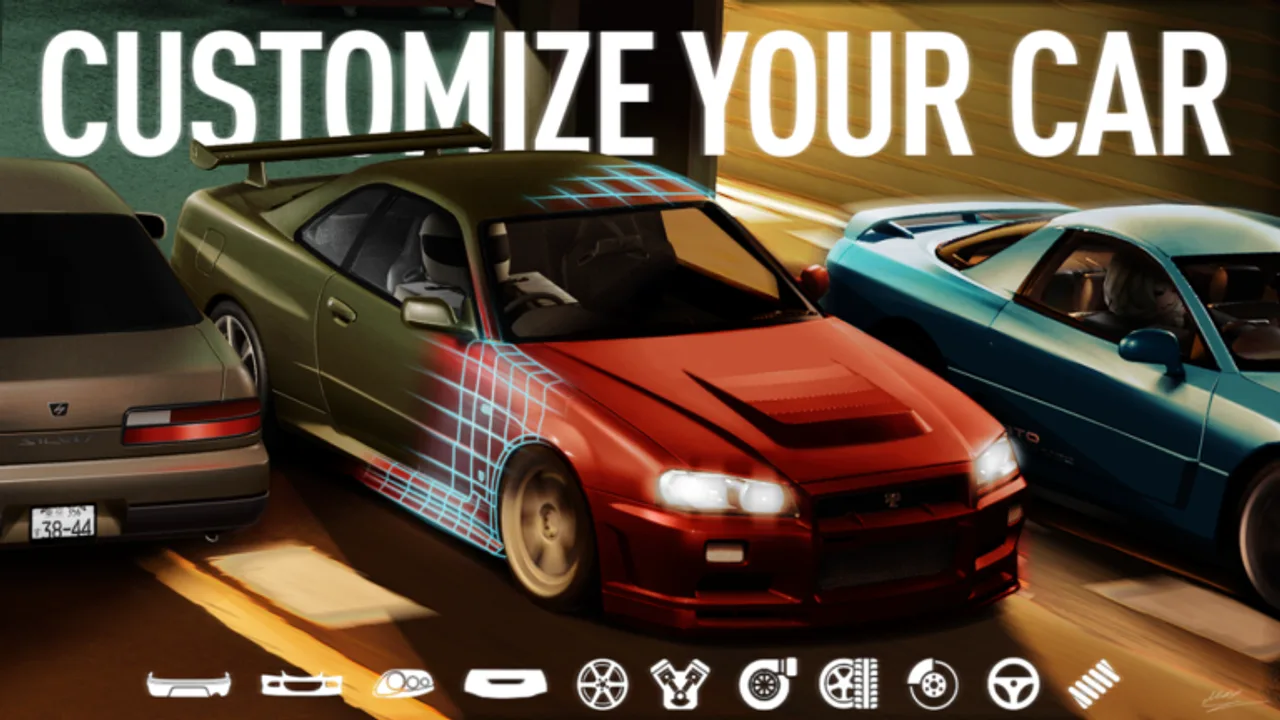
- Bodyparts and visual shops for kits covered in Customization
- Social venues (karaoke, clubs, restaurants) for RP nights
- Parking garages useful as meet landmarks
Mobile Showroom owners can open dealer, kit, and tune menus remotely — read Gamepasses before spending Robux. Everyone else should budget walk/drive time between buildings.
First-hour loop
- Spawn, open Options, set transmission comfort, and confirm ignition binds from Controls.
- Redeem safe yen codes on the Codes Hub — skip DataRecover unless you need recovery.
- Visit the Tier building that matches your budget from Beginner Cars.
- Buy one teacher car, then locate the tuning pad before any bodykit spree.
- Drive a calm sightseeing lap noting dealer names and pad locations.
- Only then queue Shuto Expressway or Otsuki Touge.
RP versus practice
Tokyo City shines for meets and photo stops, but treat event lanes with respect. If you want pure pace, graduate to Shuto. If you want elevation lessons, graduate to Otsuki. If you want freeroam scale, visit Tokyo Bay Area. Keep a city cruise tune softer than your highway hotlap setup via the Tune Planner.
Money habits inside the city
City sprints and daily habits still pay, but large payouts often come from broader event loops documented in Money and XP. Do not let karaoke nights empty the repair buffer. Codes accelerate purchases; they do not replace a plan.
Common Tokyo City mistakes
- Shopping Tier 3 before you can finish a clean city circuit
- Walking into the wrong dealer building and blaming “paywall”
- Spending code yen on kits before a single pad visit
- Leaving for Shirakawa the same night you unlocked it via Codes
- Ignoring teleport pads and getting lost for twenty minutes
Link-outs for the rest of the night
After orientation, bookmark the Maps Hub, shortlist cars in the Best Cars Tier List, and keep Alpha Status open for patch surprises. Official channels stay on Official Links. Tokyo City is not “easy mode forever” — it is the launch pad that keeps Alpha nights solvent.
District awareness without lore overload
You do not need perfect real-world geography. Learn three anchors: spawn/tooltips, your Tier dealer, and the tune pad. Add a fourth landmark (garage or social venue) once those three are automatic. Mental maps beat GPS panic when lobbies densify.
Device and join tips
City lighting, crowds, and props can stress weak clients. If join stutter hits, lower graphics, switch servers, and re-check Alpha Status. Large meets look cinematic until frame time collapses — practice during quieter hours when learning routes.
Mentoring friends here
When onboarding a friend, stay in Tokyo City for the entire first session. Resist “just one C1 pull.” Show dealer buildings, pad etiquette, and a single calm cruise. Tomorrow can be Shuto. The Guides Hub exists so you do not invent a syllabus under lobby pressure.
Frequently Asked Questions
Quick answers to the most common questions.
Should beginners start in Tokyo City?
Yes. It is the lowest-stress place to learn dealers, pads, and controls before highway or touge maps.
Why are there multiple dealerships?
Tokyo City typically splits Tier 1, Tier 2, and Tier 3 into separate buildings so you buy from the matching showroom.
Is tuning available in Tokyo City?
Yes. Locate the orange tuning pad (or use Mobile Showroom) after your first purchase.